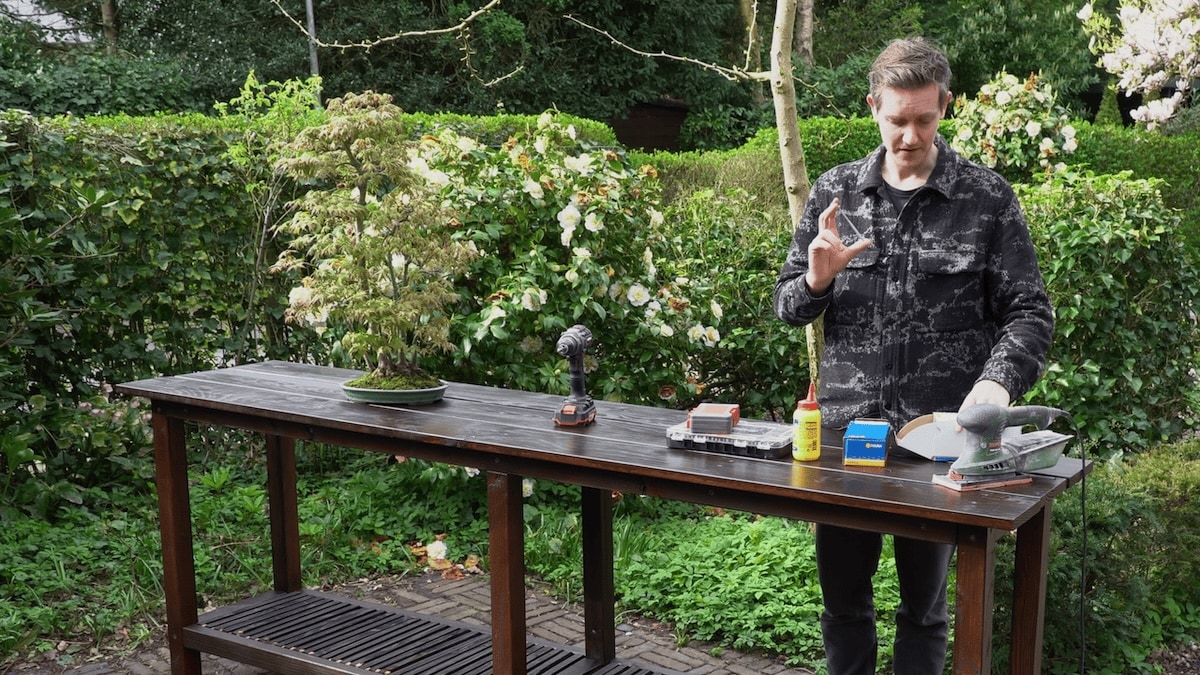
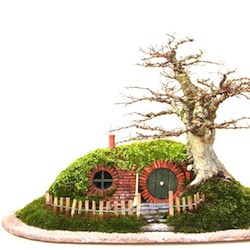
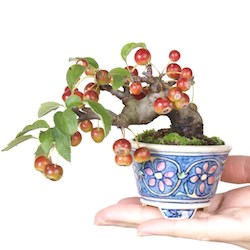
Displaying your Bonsai at the right height is very important. In this article we show how we created a Bonsai table of about 8ft wide (2.5m). We also share the plans with you so you can make one yourself!
The video below shows the process of making the Bonsai bench in detail, it is a bonus lecture from the Suzuki Masterclass - an online course all about Japanese Aesthetics and Garden Design. But we also show the steps below with photos for a bit more detail.
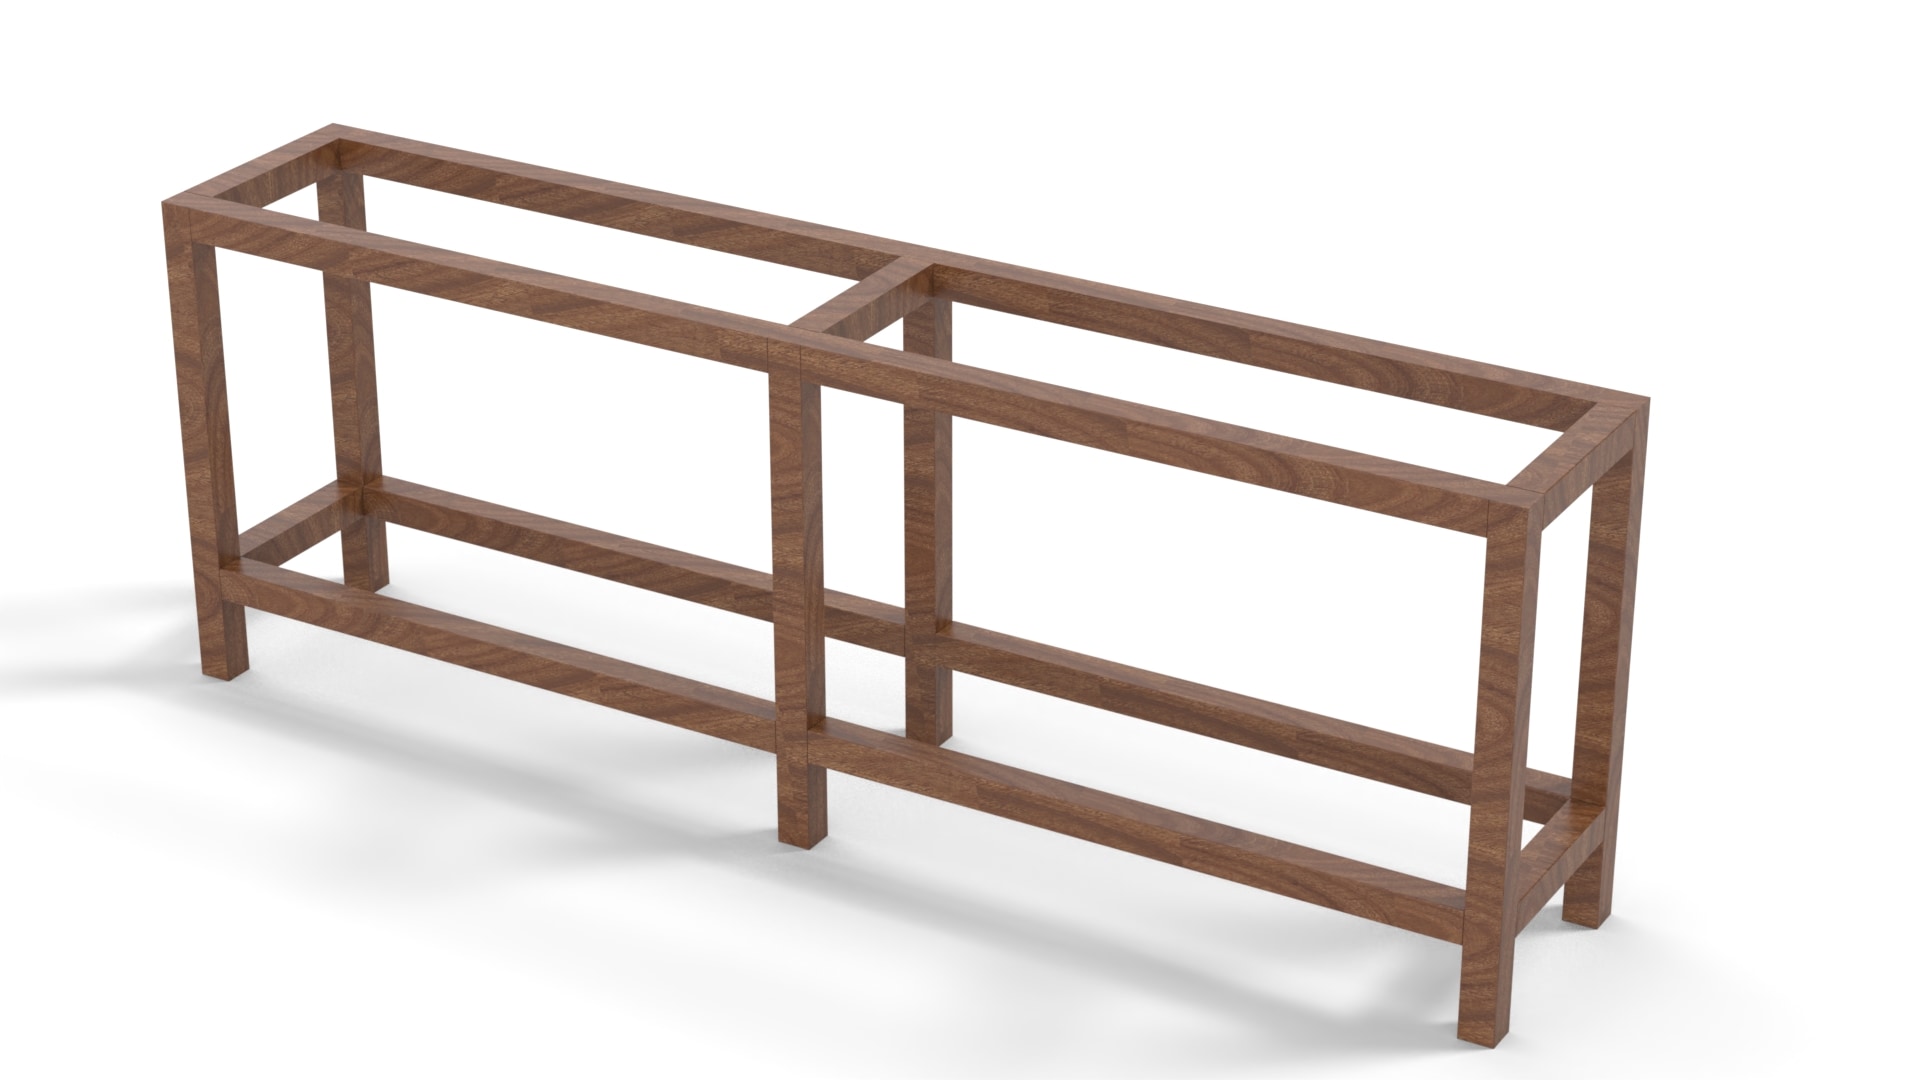
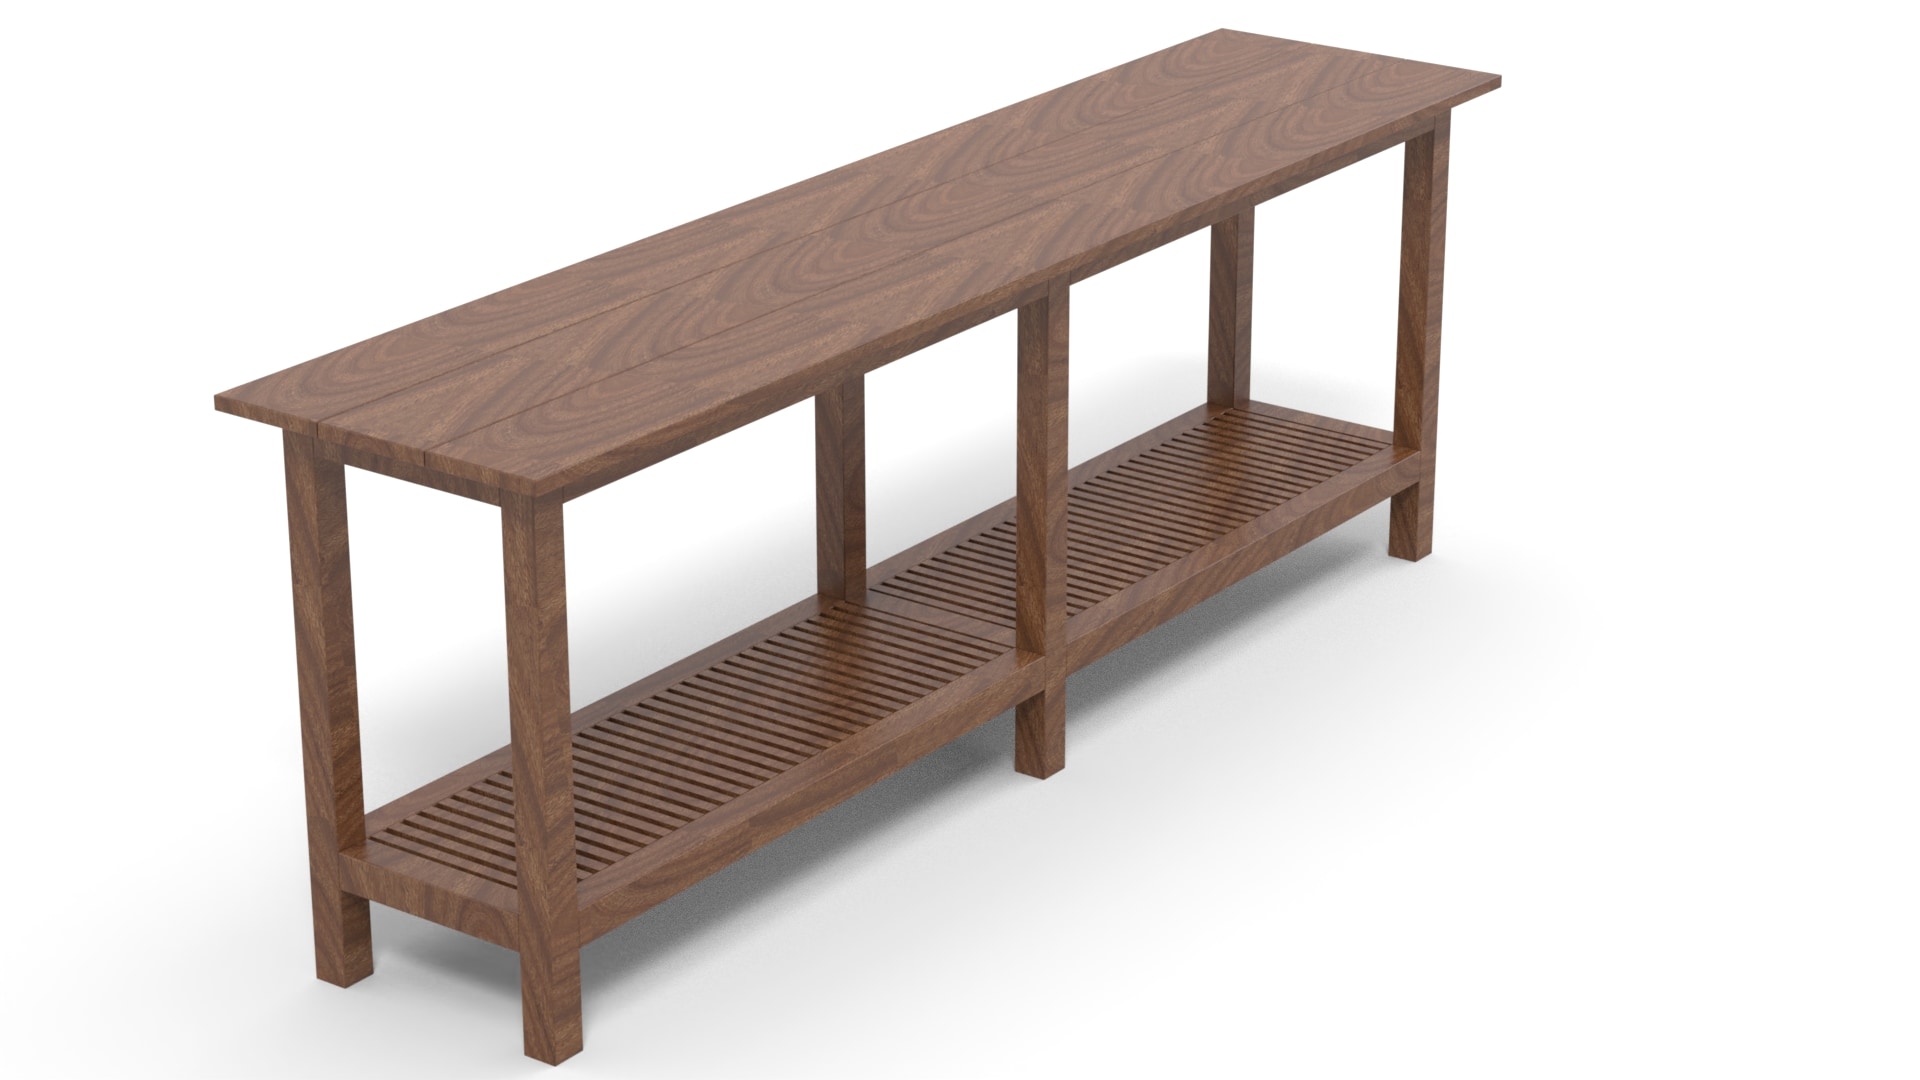
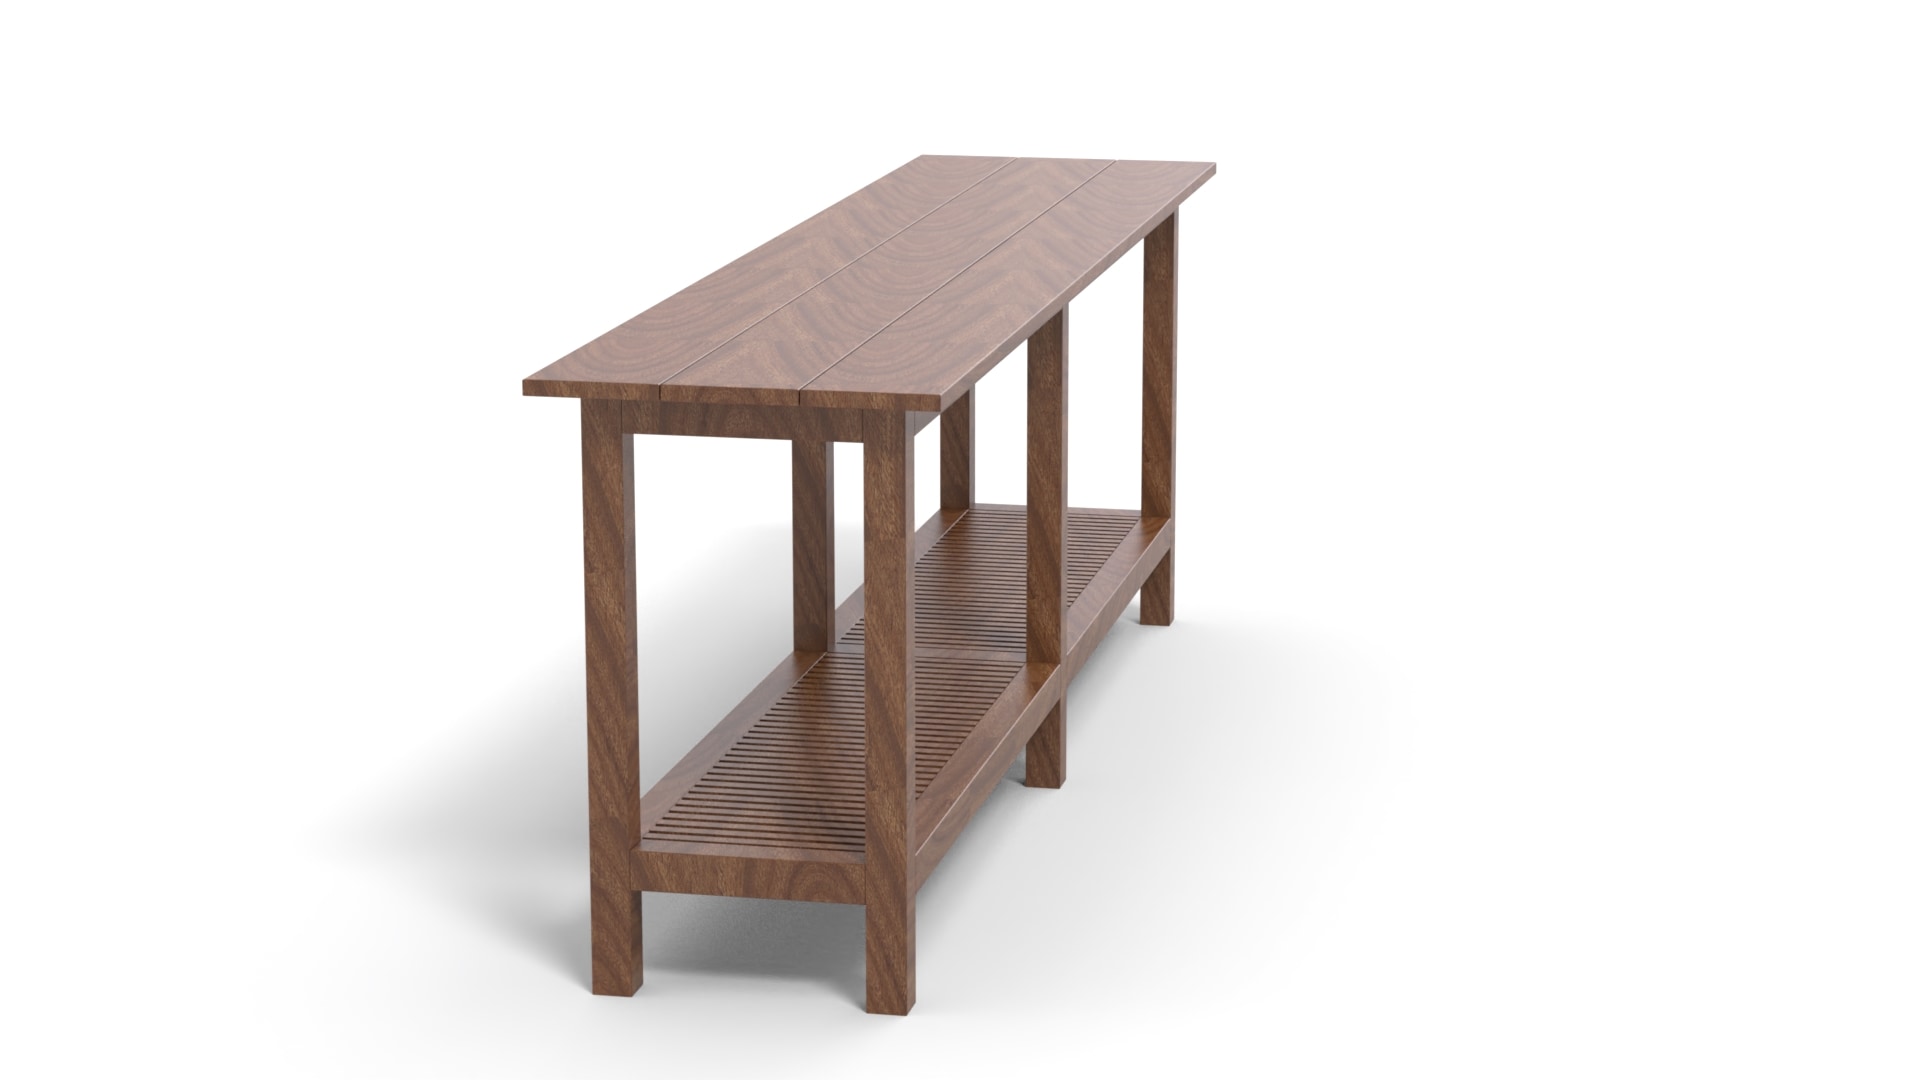
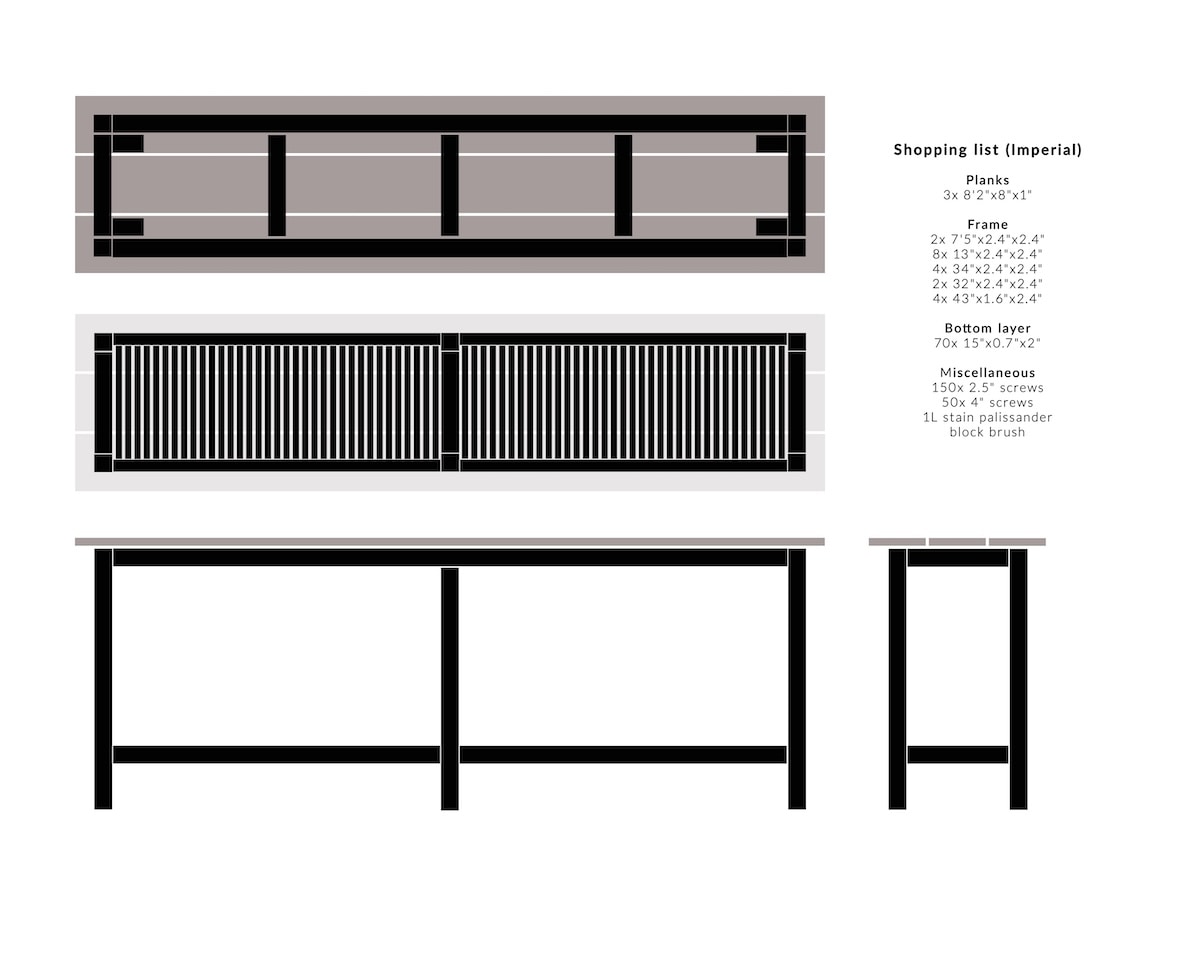
Designs for the Bonsai bench
A 3D view of the frame of the Bonsai table. A 3D view of the finished bench. And a 3D view from the side.
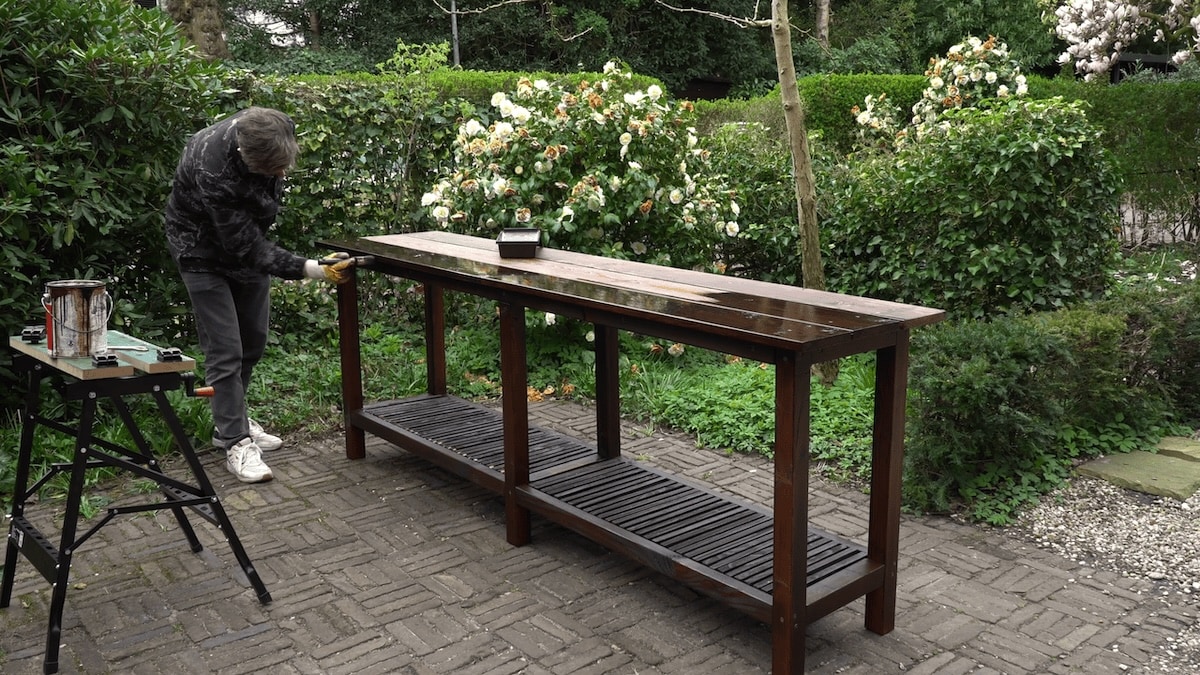
Building the Bonsai table
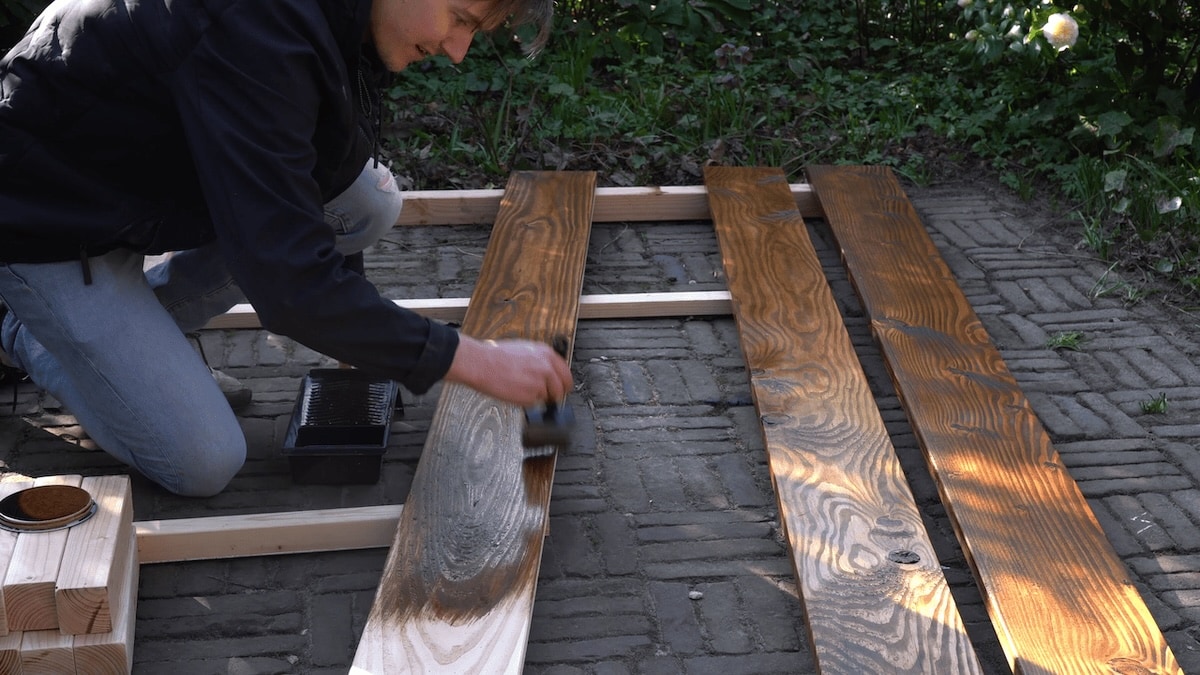
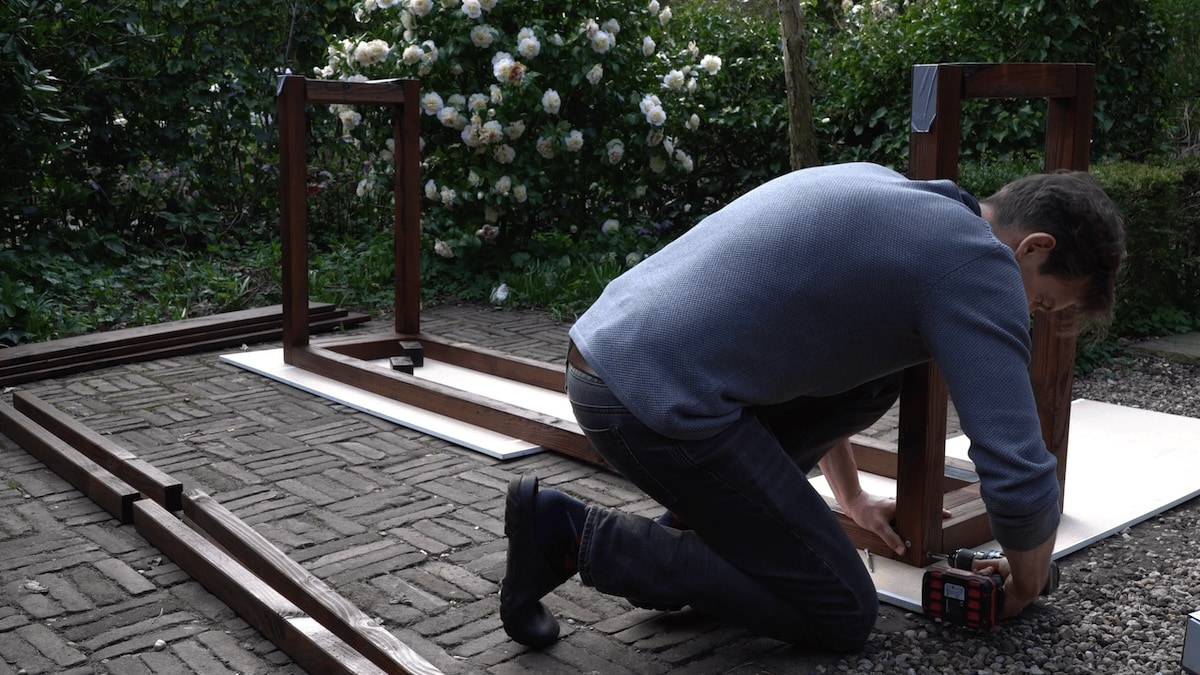
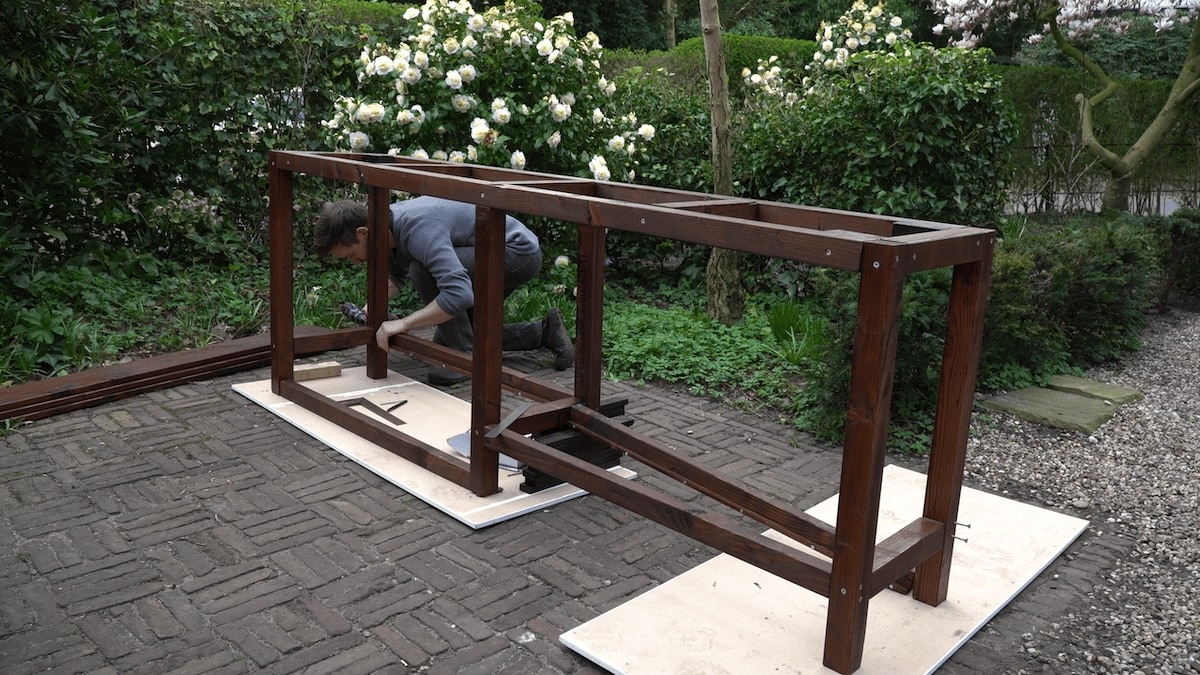
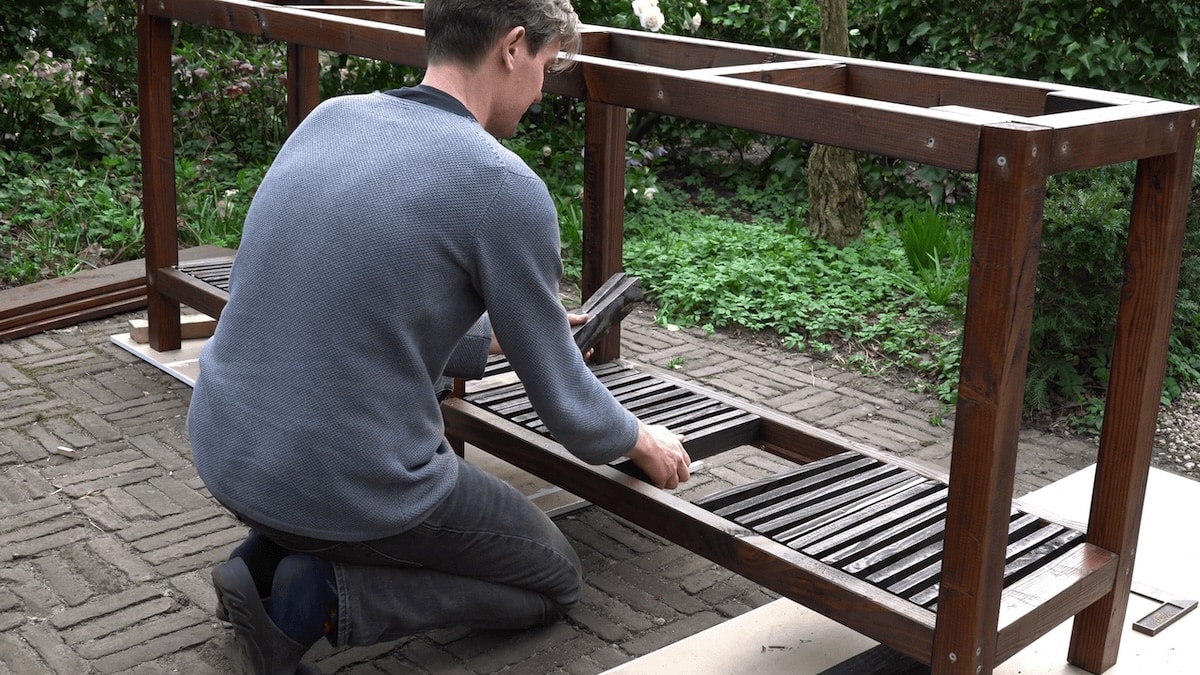
Some of the supplies and tools you need include screws with anti-rust coating, drills, bits, etc. Check the plans below for all info. After sawing and sanding, the first layer of stain was applied. We used Douglas fir wood, with a Rosewood stain. Applying stain is very important to increase the lifespan of the wood. We applied two layers of stain on the wood before assembling, and one final layer after assembling. I expect I'll need to restain once every five years. The frame is being assembled. Its important to pre-drill all holes, to make sure the wood doesn't crack when attaching it with the big screws. For stability the table needs a lower level. Our lower level is a bit complex, but this looks very nice and allows us to store pots and show accent plants with a bit of shade from the upper level. Once assembled, we apply a last (thirds) layer of stain.


